
To install the Lime Talk chat on your Drupal site, copy the Lime Talk installation code from the Lime Talk client zone (section Settings -> Installation Code) and follow these steps.
We recommend making a complete back up of your website before proceeding further.
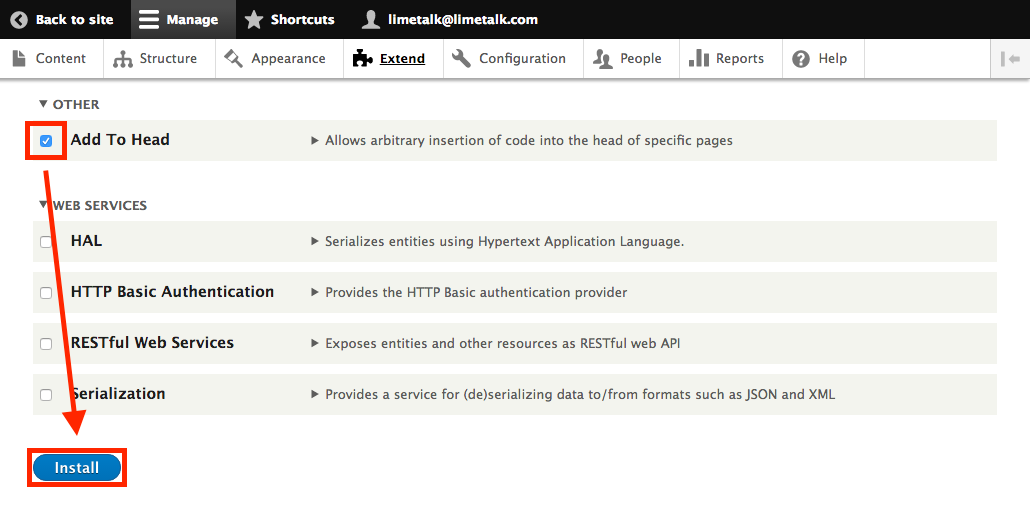
If you have not done so already, we suggest activating the Update Manager module in the section Extend. This will allow you to install new modules directly through the web interface. Activation can be done by marking the checkbox next to the appropriate module and confirmation by clicking the button at the end of the page.
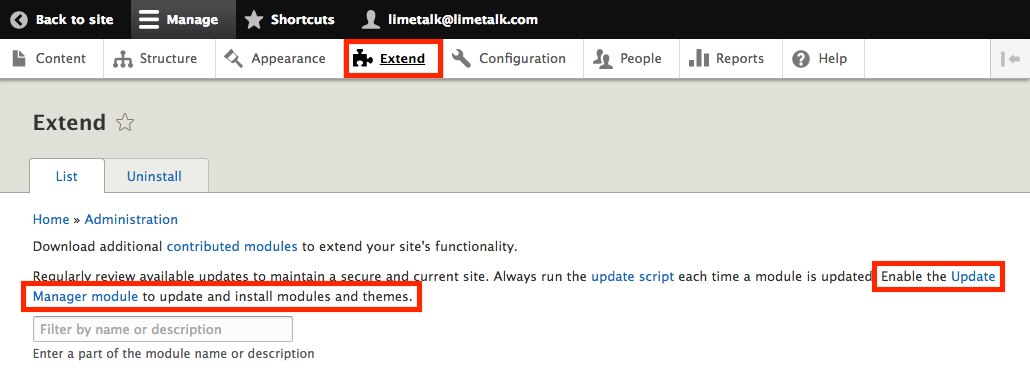
Once you activate the Update Manager Module, please continue as indicated in the picture below.
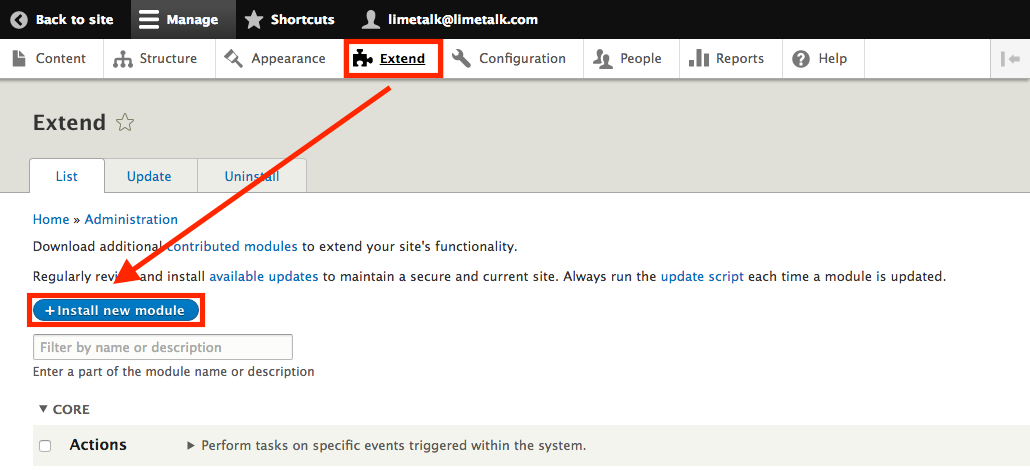
Go to the module page Add to Head Click on “View all releases” at the bottom of the page and search for a version compatible with your version of Drupal. You can download the module or just copy its address. Add the module to the Drupal and click the Install button.

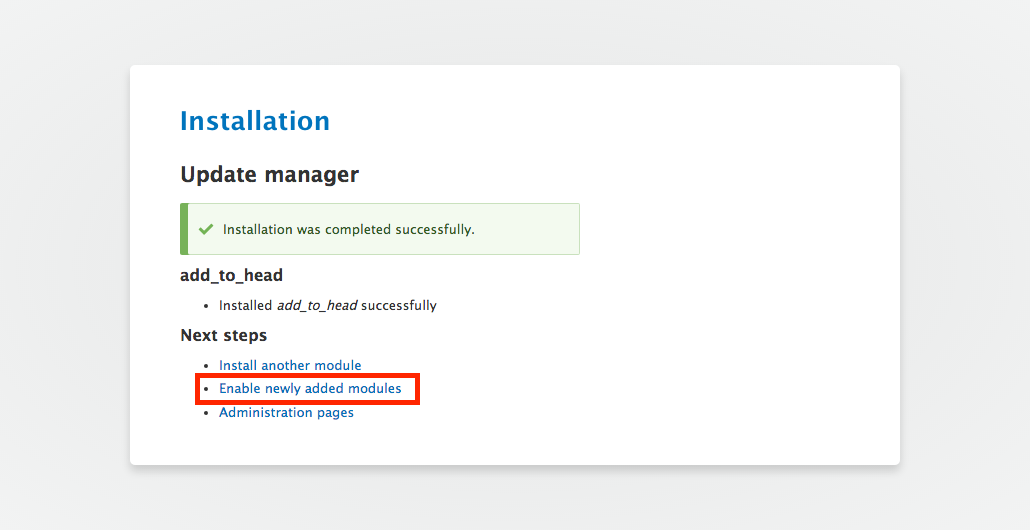
Continue further as the pictures indicate.


Please choose any name for the profile you are adding (e.g.: “limetalk”) and insert the Lime Talk installation code. In the sections PATHS and ROLES, you can choose where the Lime Talk widget should be visible. At the end, choose the first option Head and click Save.

That’s it! Now your chat should appear on your website.